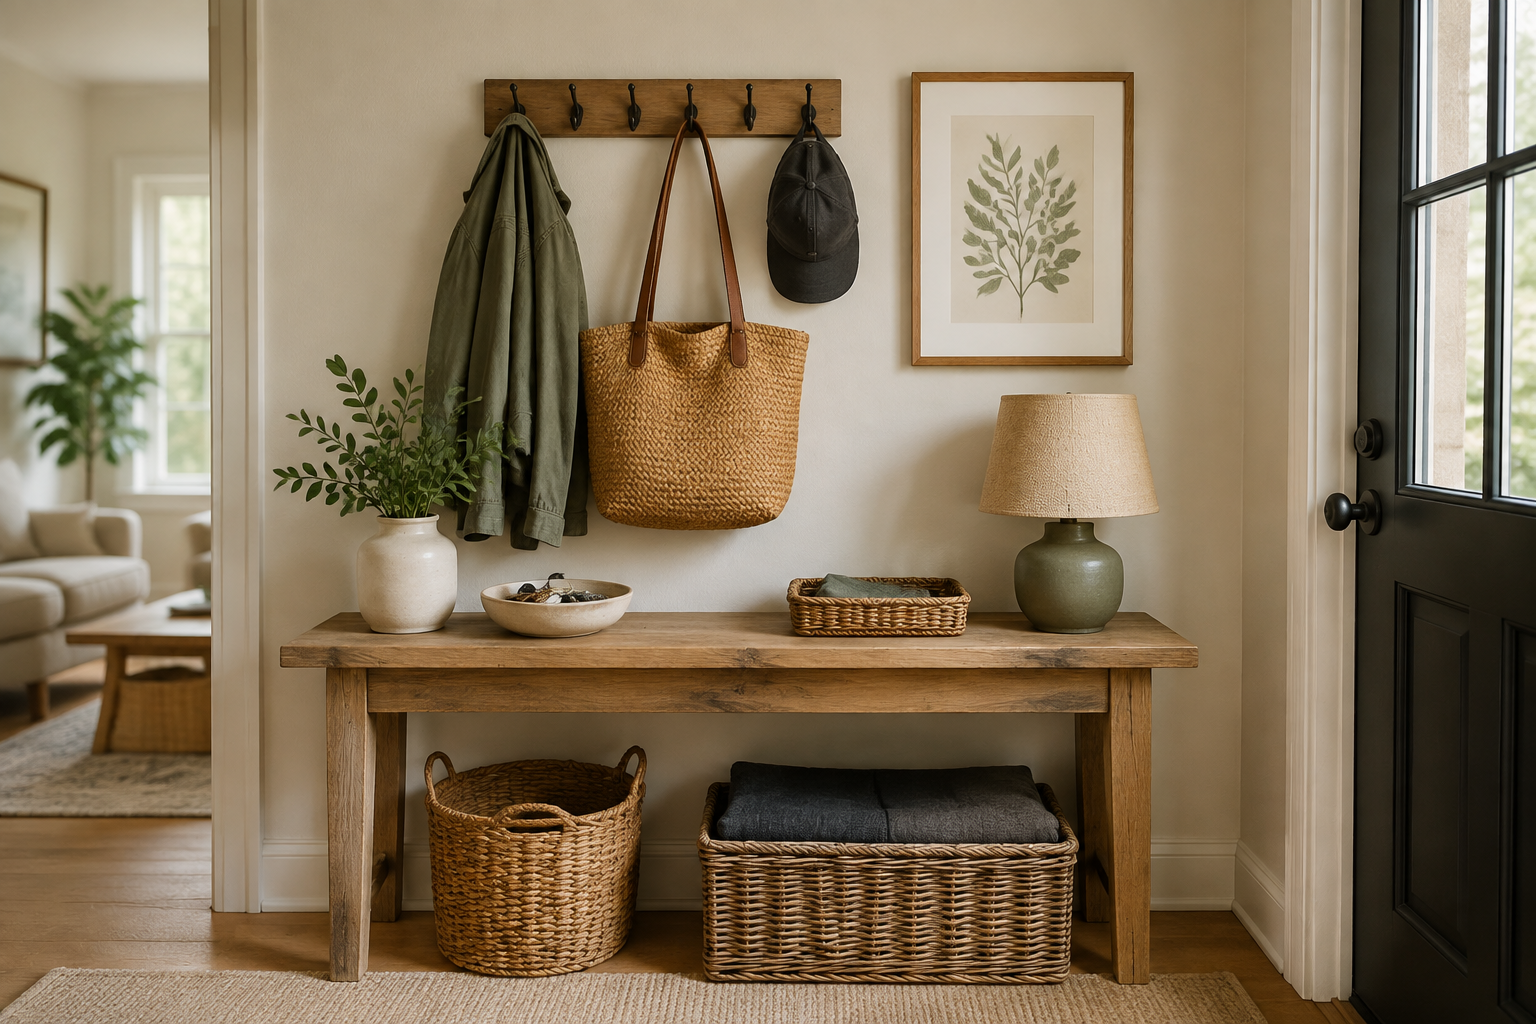
An entryway does not need to be large—or perfectly tidy—to make arriving and leaving easier. It needs to catch the few items that cross the door every day without becoming storage for everything the household owns.
The most durable system follows behavior. It places each item near the point where people already drop it, uses containers that can be operated with full hands, and sets visible capacity limits before clutter spreads.
The five-zone entryway system
| Zone | What it handles | Minimum solution |
|---|---|---|
| Landing | Keys, sunglasses, wallet, outgoing item | One tray or shallow bowl |
| Hanging | Daily coat, bag, dog lead | Sturdy hooks at useful heights |
| Footwear | Current shoes and wet-weather items | Low shelf, mat, or washable tray |
| Paper | Mail and documents entering or leaving | One slim inbox with a processing rule |
| Overflow | Objects that belong elsewhere | One portable return basket |
You may not need all five zones. A person who enters through a garage and receives digital bills needs a different system from a family entering through a narrow apartment hallway.
1. Observe the door for three ordinary days
Before buying organizers, note what enters and leaves through the door. Photograph the area at its messiest—not after cleaning—because the clutter contains useful information.
Record:
- which door the household actually uses;
- where shoes come off;
- where keys, bags, coats, mail, and pet supplies land;
- which objects are searched for in the morning;
- what blocks the walkway or door swing;
- which items remain untouched for an entire week.
Design around that evidence. Moving a key tray closer to the real entrance may work better than installing a complete organizer in the formal foyer. Find more systems in Organizing.
2. Give the entryway a capacity—not an unlimited job
The entryway should support the current routine, not archive every coat, shoe, and bag. Set an allowance for each person based on what is used during the week or season.
A practical starting limit might be one daily bag, one frequently worn outer layer, and one or two pairs of shoes per person. The exact number is less important than fitting comfortably inside the available storage. Items beyond the limit move to bedroom closets, utility storage, or another designated location.
Leave a little unused capacity. A system that is completely full on setup day cannot absorb a guest’s coat, a delivery, or a change in weather.
3. Build a one-handed landing zone
Keys and pocket items need an open target that can be used while carrying groceries or managing a pet. A shallow tray, bowl, or divided container usually works better than a decorative box with a lid.
Keep the landing zone away from an open window or any place where valuables are clearly visible from outside. If several people have similar keys, use simple labels or consistent sections rather than multiple tiny containers.
Reserve part of the surface for temporary arrivals. When every inch is styled, packages and bags end up on the floor.
4. Install hooks for the people and weight involved
Hooks use vertical space efficiently, but placement and fixing matter. Measure the longest coat and largest bag before choosing the height and spacing. Lower hooks can help children manage their own items, while heavy backpacks may need a sturdy rail or lower support.
Follow the hardware manufacturer’s guidance for the wall type and expected load. Lightweight adhesive pegs may be suitable for small objects but should not be assumed to support full bags or heavy coats. Keep hanging items clear of switches, heating equipment, and the door’s movement.
5. Combine visible and concealed storage
Open storage suits high-frequency items that need air or immediate access: shoes worn today, a jacket leaving again tomorrow, or a dog lead. Closed storage reduces visual noise from spare bags, gloves, shoe care, and less frequently used supplies.
All-open storage becomes visually busy. All-closed storage can introduce enough friction that people leave objects outside it. Assign storage according to frequency:
- Daily: visible and reachable in one motion.
- Weekly: nearby but allowed behind a door or inside a basket.
- Seasonal: outside the entryway whenever possible.
If using tall or freestanding furniture, follow the manufacturer’s anchoring instructions, especially around children or pets.
6. Make footwear easy to finish putting away
Shoe storage fails when each pair requires careful arranging. A low shelf, washable mat, or boot tray offers a forgiving target. Leave enough room for shoes to enter the system without perfect alignment.
Plan for dirt and moisture. Damp footwear needs airflow before it enters a closed cabinet. Choose surfaces that can be removed or wiped, and avoid creating a trip hazard in the main path.
If shoes exceed the visible limit, rotate them rather than buying a larger entryway unit immediately.
7. Give paper an expiration rule
A mail holder is not a filing system. Use one small inbox for papers that require a decision, then define when it is processed—for example, during the weekly reset or on two specific evenings.
Sort incoming paper into only three outcomes: act, file, or recycle/shred as appropriate. Do not leave personal documents or identifying information exposed near a glass door or shared building hallway.
Outgoing forms, returns, or packages can use one separate “leaving” position so they are visible without mixing with new mail.
8. Plan for the awkward items
Umbrellas, helmets, strollers, sports equipment, reusable bags, and pet supplies often defeat otherwise tidy systems. List the awkward objects before selecting furniture.
| Item | Possible low-friction solution |
|---|---|
| Wet umbrella | Stable, water-resistant stand or draining location |
| Dog lead and waste bags | One dedicated hook and small refill container |
| Helmet or sports equipment | Deep basket, ventilated shelf, or garage zone |
| Reusable shopping bags | One bag containing the others near the departure point |
| Returns and outgoing parcels | Marked shelf or floor zone that does not block the exit |
Do not force an unusually shaped item into a standard organizer. Give it one realistic home or move it to a better room.
9. Add a pause point only if circulation allows
A bench or sturdy stool can make footwear easier to manage and provide a temporary place for a bag. Measure the open door, walking path, and seated depth before purchasing.
In a tiny entrance, use a narrow ledge, wall-mounted shelf, or seat located in the adjacent room. An entryway that is easy to walk through is more useful than one filled with purpose-built furniture.
10. Create a “no-entryway” version
Studios, rentals, and homes whose front door opens directly into a living room can still create a transition without adding a bulky unit.
- Mount two or three approved hooks on a side wall—or use a freestanding rack if drilling is not allowed.
- Place a small washable mat or tray beside, not in front of, the door.
- Use the end of an existing cabinet as a landing surface.
- Keep a portable basket inside a nearby closet.
- Use a rug or lighting change to define the arrival zone visually.
The system can be distributed across several small points. It does not need to resemble a traditional foyer.
11. Adapt it to the household
One person: keep the system compact and resist adding storage for hypothetical needs.
Couples or housemates: give each person a consistent hook or section, plus one shared paper and key rule.
Families: use reachable zones and visual labels where helpful. Limit each person’s active items so the system remains resettable.
Pets: store leads and walking supplies near the exit, but keep medication, food, and unsafe products secured appropriately.
Renters: favor furniture and removable solutions compatible with the lease; verify load limits before relying on adhesive products.
12. Use a two-minute closing reset
At the end of the day, return keys, hang bags, pair shoes, and place objects belonging elsewhere into the return basket. Carry that basket through the home once rather than making several trips during arrival.
Once a week, process paper, empty the return basket, and remove items no longer needed by the door. At a seasonal change, rotate outerwear and footwear before adding more containers.
The goal is not a perfect entrance. It is an easier arrival and a departure with fewer searches.
When the system fails, audit the friction
| What keeps happening | Likely cause | Adjustment to test |
|---|---|---|
| Keys miss the tray | It is too far from the natural landing point | Move it closer for seven days |
| Shoes spread across the floor | Capacity is too small or compartments are tedious | Rotate pairs or use a more open target |
| Bags fall from hooks | Hooks are weak, crowded, or badly spaced | Reduce load and install suitable hardware |
| Mail piles up | The container has no processing time | Schedule a recurring decision session |
| The console fills immediately | There is no temporary-return path | Add one portable basket and keep open space |
A 15-minute setup using what you own
- Remove everything that belongs in another room.
- Choose one bowl or tray for daily pocket items.
- Set a temporary footwear boundary with a mat.
- Designate one existing hook, chair back, or safe rack for the daily bag.
- Create a portable return basket.
- Test the arrangement for seven days before buying storage.
Once the entrance works, bring the same approach to a living room that feels personal and lived-in or use the Sunday reset routine to maintain the system.
How this guide was developed: The system separates daily landing, hanging, footwear, paper, and overflow while using observed household behavior and capacity limits to reduce friction. It is designed to adapt to apartments, rentals, families, pets, and homes without a formal foyer. Reviewed October 13, 2026.